Jitsi Meet で文字起こしを有効にする

過去 2 つの Medium 記事で、Jitsi Meet での文字起こしのサポートについて書きました。どちらの記事でも、Jitsi Meet ユーザーにとって文字起こしがいかに面倒であるかを指摘しました。しかし、いくつかの追加構成により、文字起こしがはるかに使いやすくなりました。この記事では、以前の 2 つの記事よりもはるかに優れたユーザー エクスペリエンスを提供する構成で、Jitsi Meet で文字起こしを有効にする方法について説明します。
インストールと設定
トランスクリプション機能付きの Jitsi Meet をインストールして構成するには、次の手順を実行します。
- ドキュメントに従って Jitsi Meet をインストールします。
- 注: これらの手順は、Vosk 文字起こしサービス用です。
音声テキスト変換サービスと連携して文字起こしを提供する Jitsi Meet サービスである Jigasi をインストールします。
sudo apt install jigasi3. Jigasi を設定します。これは/etc/jitsi/jigasi/sip-communicator.propertiesファイルで行います。次の行のコメントを解除して編集します。
 # 転写に関するオプション。詳細な説明についてはREADMEをお読みください
# 各物件について

org.jitsi.jigasi.ENABLE_TRANSCRIPTION=true

 ...

 # 最終トランスクリプトの配信
org.jitsi.jigasi.transcription.DIRECTORY=/var/lib/jigasi/transcripts
 org.jitsi.jigasi.transcription.BASE_URL=http://localhost/
 org.jitsi.jigasi.transcription.jetty.port=-1
 org.jitsi.jigasi.transcription.ADVERTISE_URL=false

 # 保存形式
org.jitsi.jigasi.transcription.SAVE_JSON=false
 org.jitsi.jigasi.transcription.SAVE_TXT=true

 # 送信形式
org.jitsi.jigasi.transcription.SEND_JSON=true
 org.jitsi.jigasi.transcription.SEND_TXT=false

 # Vosk サーバー
org.jitsi.jigasi.transcription.customService=org.jitsi.jigasi.transcription.VoskTranscriptionService
 # org.jitsi.jigasi.transcription.vosk.websocket_url={"en": "ws://localhost:2700", "fr": "ws://localhost:2710"}
 org.jitsi.jigasi.transcription.vosk.websocket_url=ws://localhost:2700
4. Voskを起動します。
docker run -d -p 2700:2700 alphacep/kaldi-en:latest5. Jitsi Meet を設定します。設定ファイル名は、Jitsi Meet のインストール時に設定したホスト名によって異なります。私のファイルは /etc/jitsi/meet/omoiomoi.org-config.js にあります。設定ファイルの次のセクションを編集します。
 // Transcription options.
// transcription: {
// // Whether the feature should be enabled or not.
// enabled: false,

// // Translation languages.
// // Available languages can be found in
// // ./src/react/features/transcribing/translation-languages.json.
// translationLanguages: ['en', 'es', 'fr', 'ro'],

// // Important languages to show on the top of the language list.
// translationLanguagesHead: ['en'],

// // If true transcriber will use the application language.
// // The application language is either explicitly set by participants in their settings or automatically
// // detected based on the environment, e.g. if the app is opened in a chrome instance which
// // is using french as its default language then transcriptions for that participant will be in french.
// // Defaults to true.
// useAppLanguage: true,

// // Transcriber language. This settings will only work if "useAppLanguage"
// // is explicitly set to false.
// // Available languages can be found in
// // ./src/react/features/transcribing/transcriber-langs.json.
// preferredLanguage: 'en-US',

// // Disable start transcription for all participants.
// disableStartForAll: false,

// // Enables automatic turning on captions when recording is started
// autoCaptionOnRecord: false,
// },
適切な行のコメントを解除して編集し、次のようにします。
 // Transcription options.
transcription: {
// // Whether the feature should be enabled or not.
enabled: true,

// // Translation languages.
// // Available languages can be found in
// // ./src/react/features/transcribing/translation-languages.json.
// translationLanguages: ['en', 'es', 'fr', 'ro'],

// // Important languages to show on the top of the language list.
// translationLanguagesHead: ['en'],

// // If true transcriber will use the application language.
// // The application language is either explicitly set by participants in their settings or automatically
// // detected based on the environment, e.g. if the app is opened in a chrome instance which
// // is using french as its default language then transcriptions for that participant will be in french.
// // Defaults to true.
useAppLanguage: true,

// // Transcriber language. This settings will only work if "useAppLanguage"
// // is explicitly set to false.
// // Available languages can be found in
// // ./src/react/features/transcribing/transcriber-langs.json.
// preferredLanguage: 'en-US',

// // Disable start transcription for all participants.
// disableStartForAll: false,

// // Enables automatic turning on captions when recording is started
// autoCaptionOnRecord: false,
},
6. すべての Jitsi Meet サービスを再起動します。
sudo systemctl restart jitsi-videobridge2.service
sudo systemctl restart jicofo.service
sudo systemctl restart jigasi.service
sudo systemctl restart prosody.service
転写の使用
これらの手順を完了すると、Jitsi Meet UI に新しいオプションが表示されます。それを確認して使用するには、次の手順を実行します。
- 会議を開始する:

2. その他のオプションについては、画面の下部にある次の項目をクリックします。

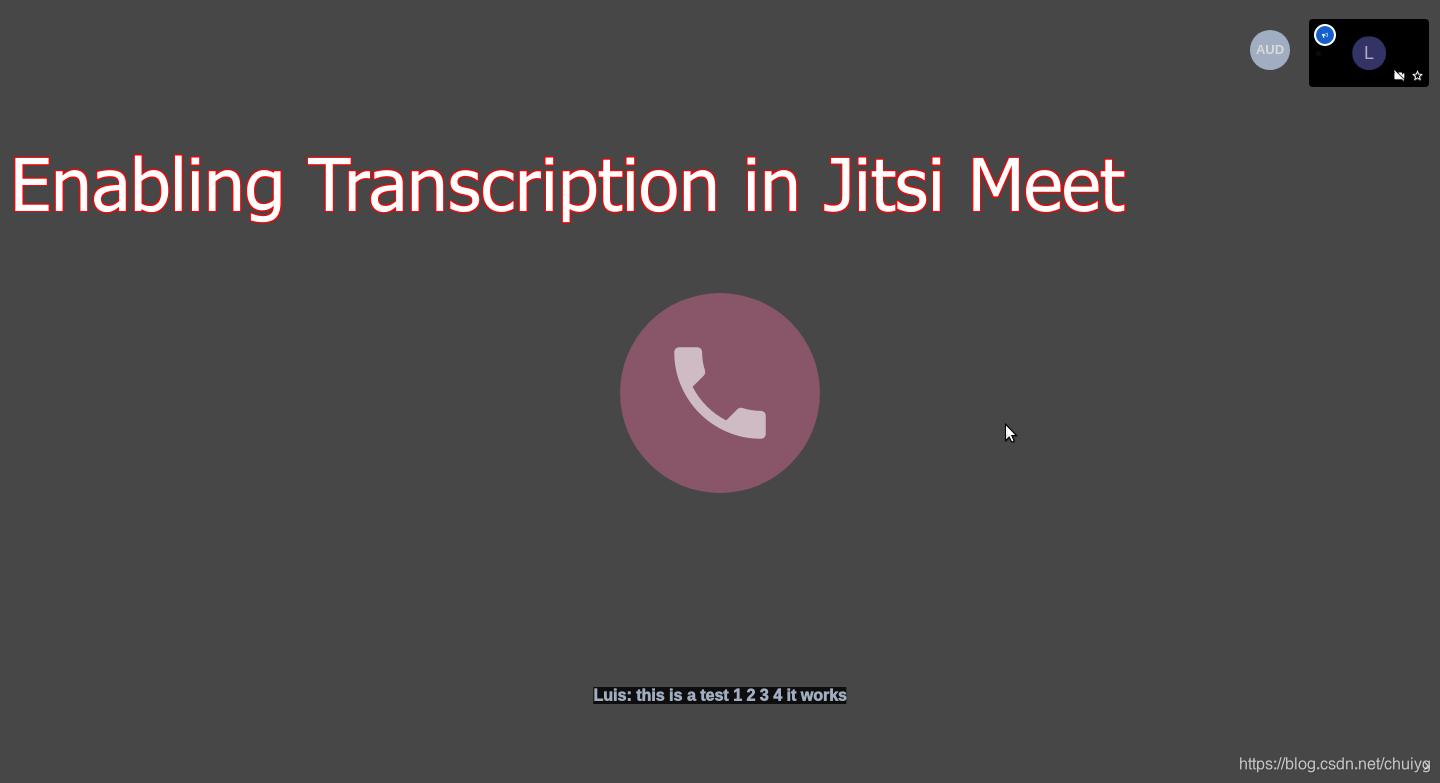
3. 画面に字幕を表示するには、以下をクリックします。

…これで完了です。この設定により、「transcriber」ユーザーを部屋に招待する必要がなくなります。自動的に招待されます。これは、「人を招待」して「jitsi_meet_transcribe」を招待してトランスクリプションを開始する方法よりもユーザー エクスペリエンスが大幅に向上します。
結論
この記事がお役に立てば幸いです。この設定により、Jitsi Meet 会議の文字起こしがはるかに簡単になりますが、会議後に文字起こしに簡単にアクセスできるようになるわけではありませんので、ご注意ください。